I have been admiring the burlap and linen furniture from Restoration Hardware for a while now. I love the texture and simplicity of it all. In the past couple of years, French grain and flour sacks have emerged as a design trend in home decor. I would love to show you some of my faves and my inspiration, but I haven't figured out how to post someone else's pictures yet. (Rookie blogger...jeez!) I can however show you a quick link....if you promise to come back. Check these out. Aren't they great?
Recently, I was
When I saw her fabulous idea, I knew I needed to do this and I knew exactly where I would do it! The same cat that clawed the Parsons chair that I re-upholstered in an earlier post, also clawed the cocktail ottoman in my living room. It's a little hard to see in the photo, but all four corners have been mangled. I have patched the dang thing about 20 times.
Following Flea Market Trixie's instructions, here is my cocktail ottoman now!
Here is how I did it:
Following Flea Market Trixie's instructions, here is my cocktail ottoman now!
Here is how I did it:
- I figured out what I wanted my "grain sack" to say.
- Translated it into French here.
- Chose my fonts and clip art and created my design in Power Point.
- Printed the design (making sure to reverse the design in a mirror image) onto iron on transfer sheets that I purchased at Michael's for $9.99 for 6 sheets.
- Cut out each word and picture individually.
- Layed out my design on the fabric which is a remnant I bought at the fabric store for only $7.50 for a yard and a half. (It is a very tightly woven linen type fabric that has the same rustic look as burlap, but is much softer and might actually stand a chance against my
damncat). - I ironed on the words and pictures being sure to remove them while the sheets were still hot to maintain a matte finish. I also pulled them off before they were actually "ready" so that the design would look old and worn.
The English translation is:
"Where the heart is." (Not visible in photo)
Pesses (our last name) Castle
"Our home is filled with love and laughter."
The number and line below is our address
8. Next, I sewed each of the four corners for the bottom part of the ottoman.
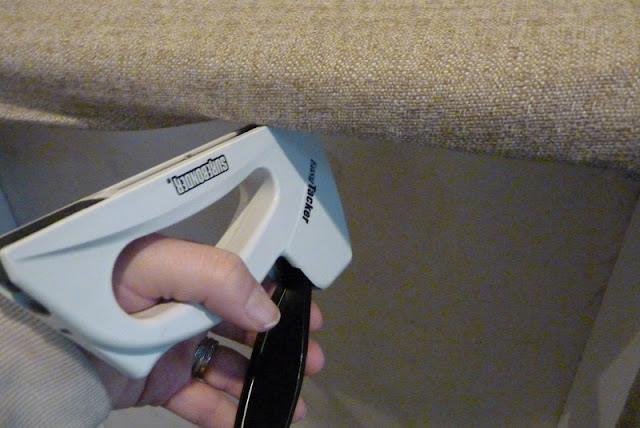
9. Used my second favorite tool (only to my hot glue gun) to staple the inside and bottom of the fabric.
10. Finally, I finished off the look with nail heads ($8 for 4 packs) and hot glued on the gimp trim ($14).
Here is the before and after:
 |
| Before |
 | ||||||||||
| After |
I was a little worried about the durability of such a light colored fabric with two little ones in the house. Since finishing this project a week ago it has already endured a coffee spill and a juice box explosion (thanks to my busy toddler...my coffee, not his btw). I am happy to report that it cleaned up great. Not a stain in sight! The next test....the
If it does get destroyed or I grow tired of it, I can change it easily and inexpensively. The whole project only cost about $40!
One little side note - I was so excited to finally use my zebra pillows. They have made an appearance in almost every room of my house at one time or another only to end up back in the closet. I couldn't exactly pair them with the leopard ottoman or my living room would look a little too "African Safari" for my taste. I think they work great with my new ottoman!


